This year, I’ve returned to the world of community education classes, this time to teach a series for middle schoolers interested in creative writing. And because I always like to make my content as accessible as possible, I’m posting it here for anyone who might want to benefit from it.
To view the full presentation with all four classes of content, visit this link.
To view the full pack of worksheets that accompany these classes, visit this link.
First up is the class on Character Creation:
Creating well-rounded characters is one of the most important steps in crafting an engaging story. Because my classes are just an hour long, I focused this class around the creation of just one character, but you can repeat these exercises for all the characters in your story to flesh them out and make them feel as real as people in your every day life.
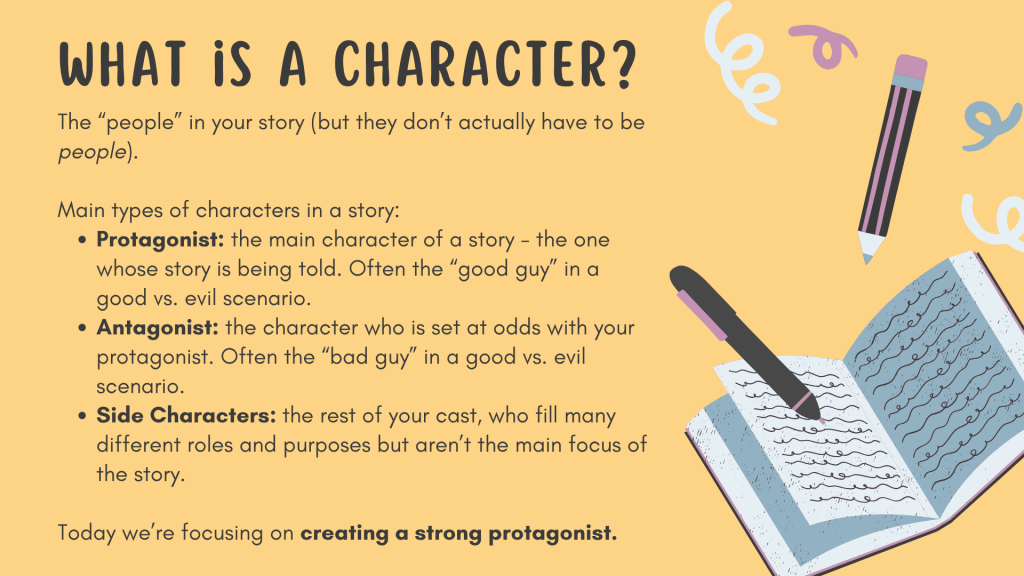
So, what is a character? Characters are all of the people that populate your story (though they don’t have to strictly be people), and they can be divided into three main categories: protagonist, antagonist, and side characters.
- Protagonist: This is your main character, the one whose story is being told. And, if your story takes a typical “good vs evil” approach, your protagonist is your “good guy.”
- Antagonist: This character is set at odds with your protagonist. They are what stands in the way of your protagonist getting what they want. In a typical “good vs. evil” approach, the antagonist is the “bad guy.”
- Side Characters: This is the rest of your cast. The many other people who populate your story but aren’t the main focus of the plot. Just as you are the protagonist in your own life and everyone you know are “side characters” in your story (but I don’t suggest calling them that).
I had my class focus on creating a strong protagonist, but you can choose whatever character you want.
Activity #1: Design Your Character
Our first activity takes the style of your typical D&D-style character sheet with space to fill in all the basic details about your character. This is a great opportunity explore a character you’ve already created in more depth or start fresh with a new idea.
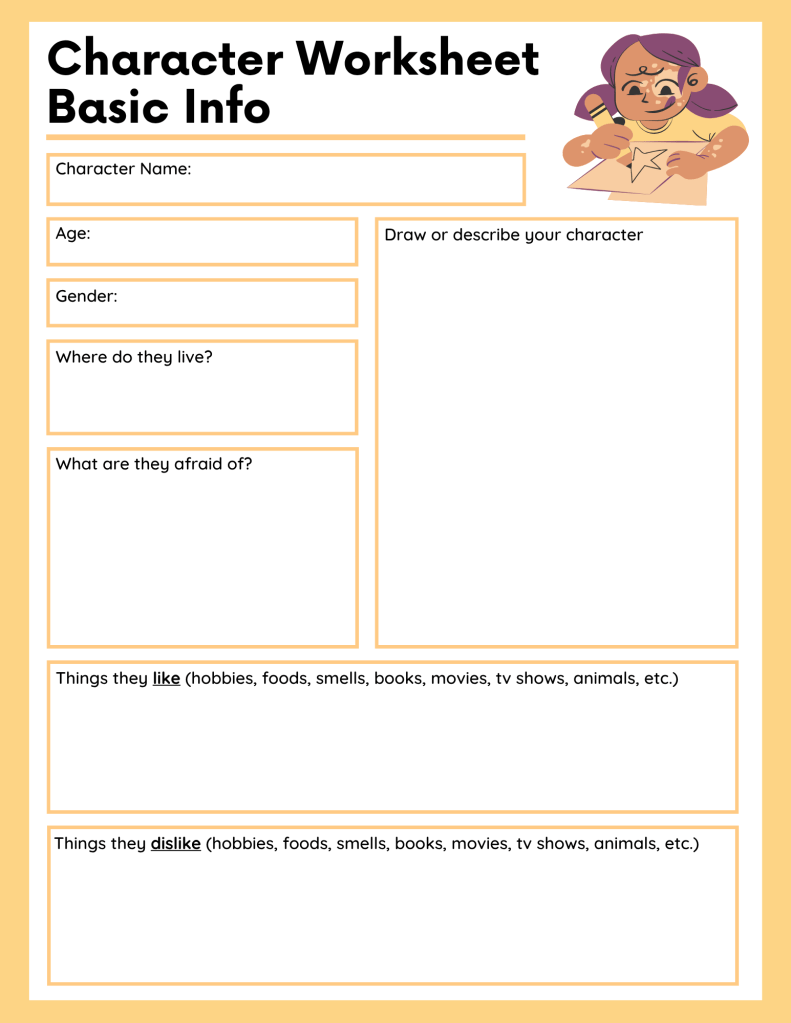
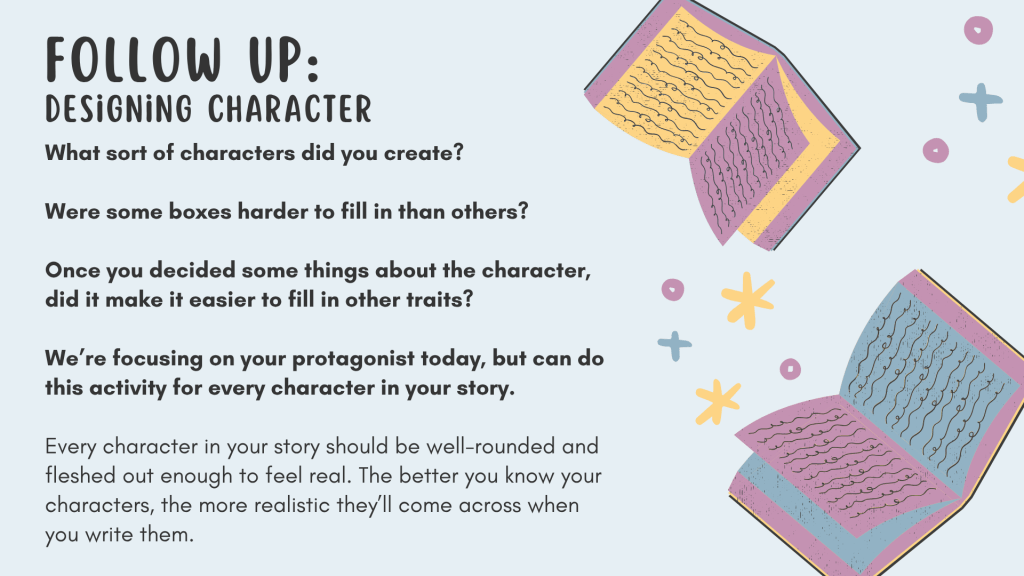
What I hope you’ll take away from this first activity is how quickly characters can start to take shape in your mind. You might start with a very simple idea, but the more you fill in information about them, the more certain things just sort of fall into place based on that first (seemingly simple) idea.
This leads us into the next section of the class: motivation.
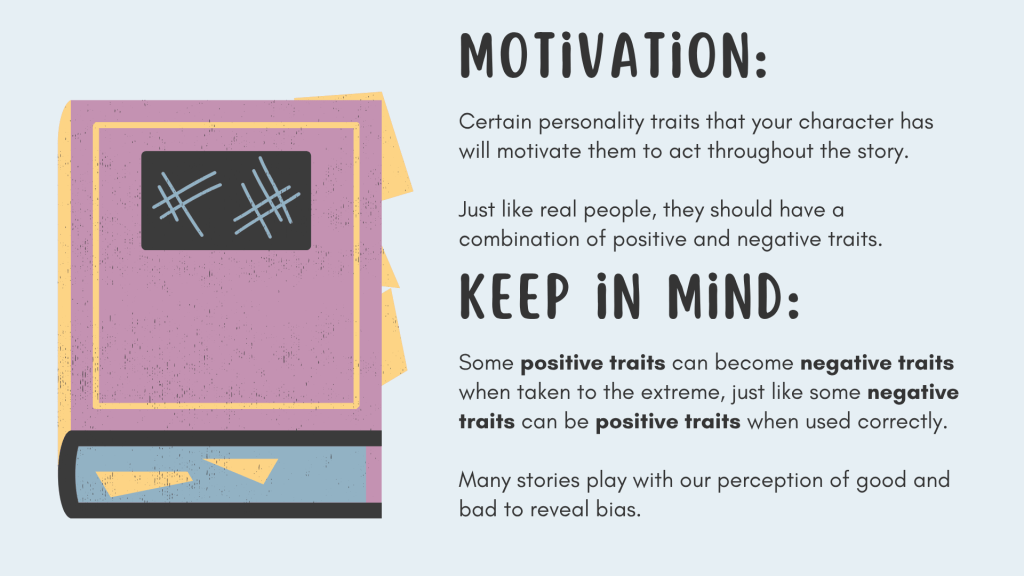
Every character in your story has motivations behind the things that they do. They all a distinct personality that determine how they react in different situations. These traits act as the foundation of your character’s motivation, which you can then build upon as the story progresses.
Just like people in real life, each of your characters should be a combination of both positive and negative traits. Your protagonist may be the “good guy” in your story, but even good guys can have negative traits. Likewise, your antagonist may be the “bad guy” in your story, but even bad guys have redeeming qualities.
To take that a step further, many stories flip traits on their heads. Some positive traits can end up hindering your character when taken to the extreme, just like some negative traits can be utilized into a strength. Below are a few of my favorite examples of stories that utilize this strategy to explore the complexity of human emotion and experience:
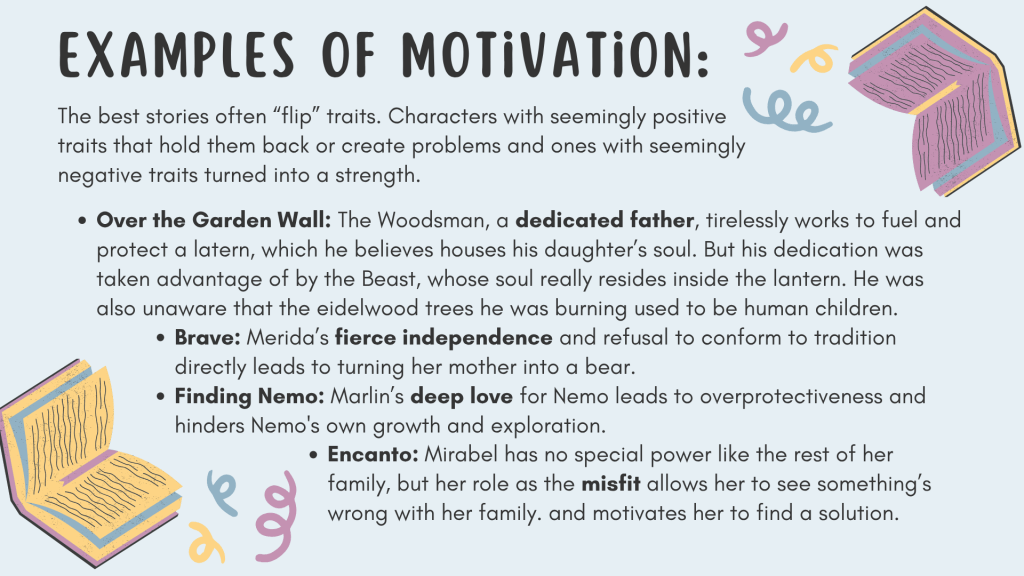
Whenever you create a character, you should consider how certain traits of theirs might change throughout the story, and you should also consider how some of their deepest held beliefs might be challenged.
They might start the story with one set of traits but end it with different ones as they learn and grow. It’s up to you if you use this activity to mark just the beginning traits, just the end traits, or a mixture of both.
Activity #2: Motivation Worksheet
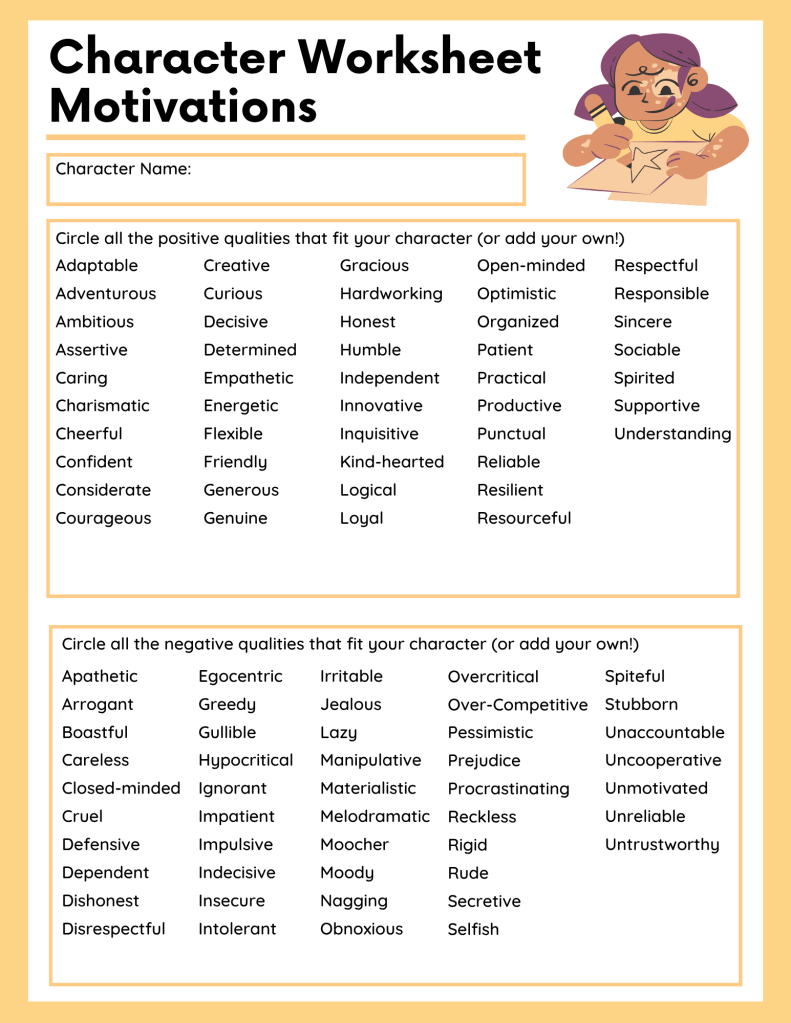
Assign some personality traits to the character you created in the first activity. You can circle the traits listed on the worksheet or add your own.
Remember, your character should be a mix of both positive and negative traits. If you’re struggling to assign either negative or positive traits to your character, I would challenge you to try to find some. Having a mixture of both types of traits will help your character come to life on the page and will be easier for your audience to relate to.
And don’t forget to consider flipping traits on their heads.
While you were filling out this worksheet, my hope is that you felt like you already knew your character well enough to fill in many of the traits. I hope it helps you see how exploring even the most basic details about your character immediately helps the character feel more real, like a person you know rather than one you’re making up.
I also hope it helped you start to think about how these traits might motivate the character’s actions throughout the story.
Because the better you know your characters, the more they’ll feel like a real person when you go to write about them, which ultimately, will help them feel more real for your readers.
These sorts of exercises are ones used by professional writers all the time. They might fill out worksheets like the ones in this class, or they might sit down and free write about their character to get to know them better.
You might not end up putting every one of these details into your book, but they act as a backdrop to it, helping to decide how characters react and the actions they take every step of the way.
Activity #3: Bringing It All Together
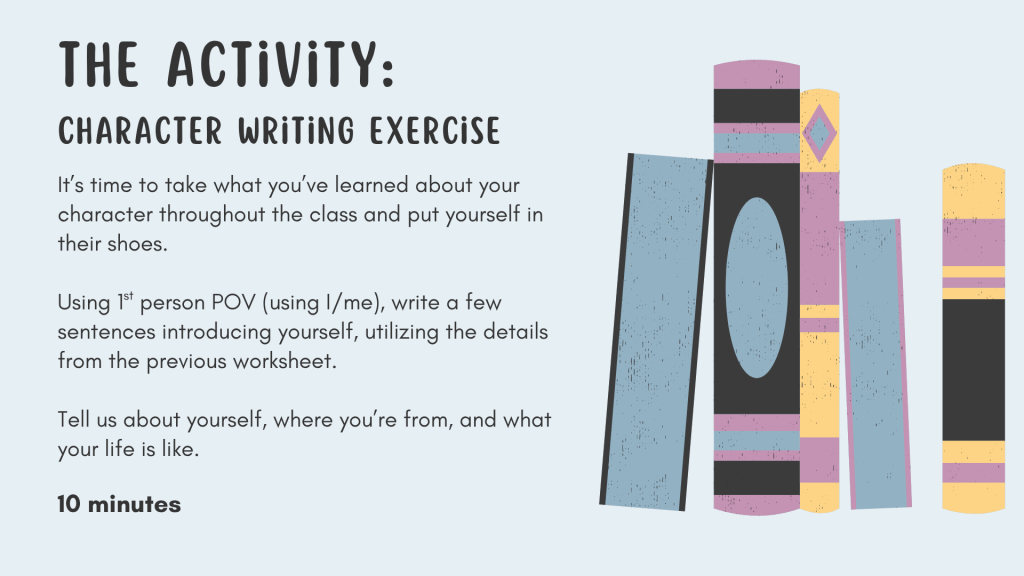
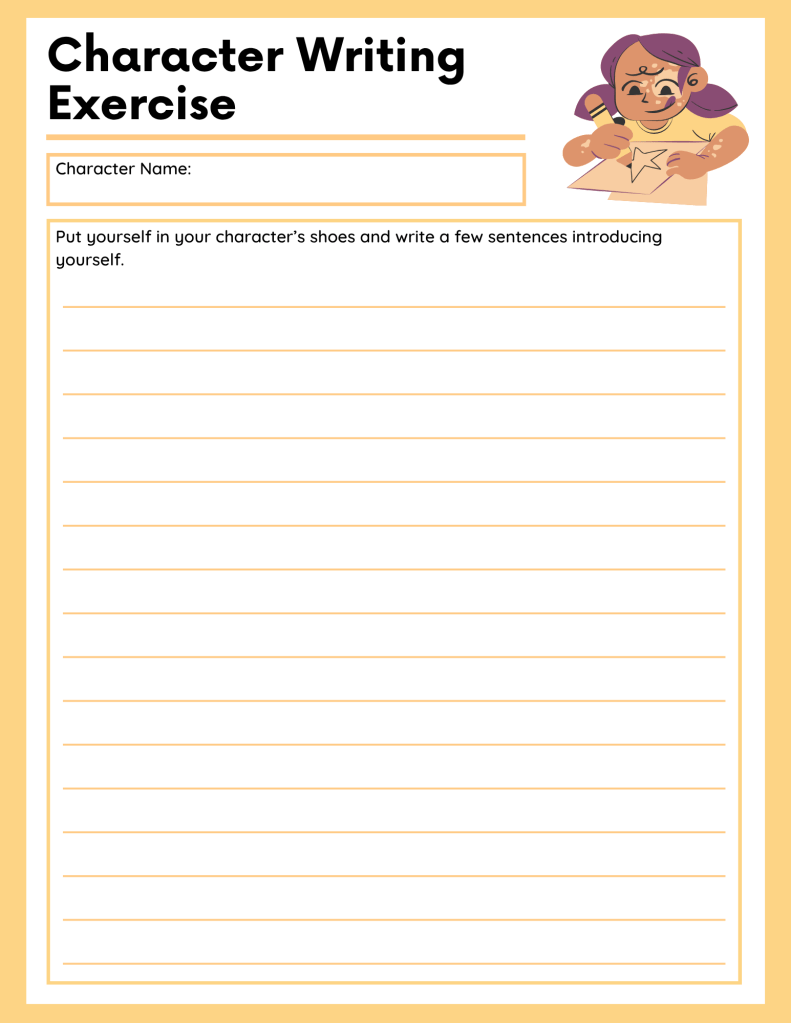
For the final activity, you’ll use the two worksheets you just filled out to write in your character’s voice (using 1st person POV—I/me pronouns).
As the character, tell us a little bit about yourself. Who you are, where you’re from, what your story is, and what your life is like.
I hope you found this writing exercise easy to do, and that because of the work you did before you started writing, you already knew this character well enough that writing in their voice came naturally.
My hope is that these exercises have shown how useful character creation exercises are and that you continue to utilize them in your writing.
You can redo each of these exercises for all of the characters in your story and create a database of information about each of them that you can refer back to as you write your story.
And if you found this information helpful, I hope you’ll keep an eye out for the next in this series—Setting the Scene—in which I’ll be exploring the importance of world-building within your writing and one of the most important strategies for creating settings that feel real.

 L. Genevieve Writes
Leave a comment